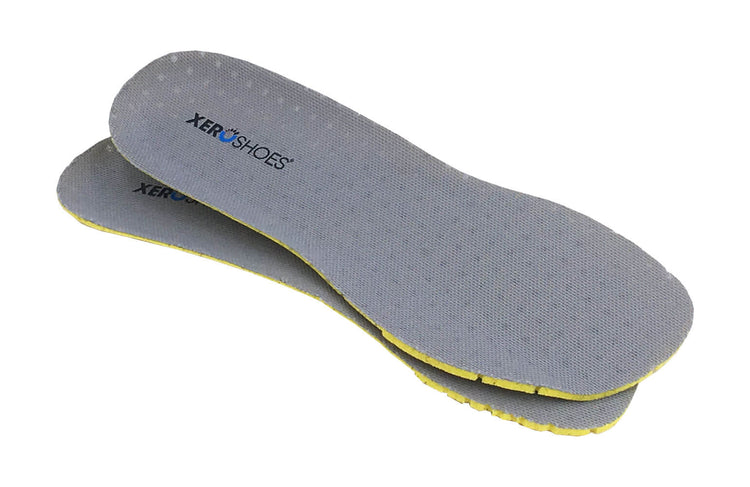
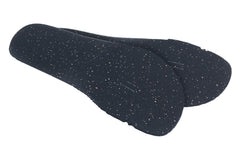
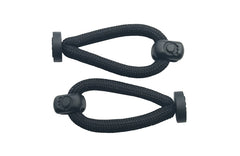
Amuri Hardware Kit - Complete


Amuri Hardware Kit - Complete
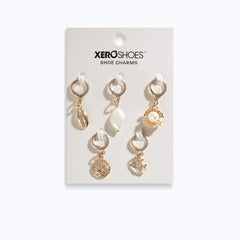
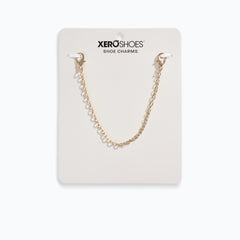
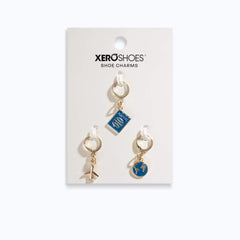
Make it yours
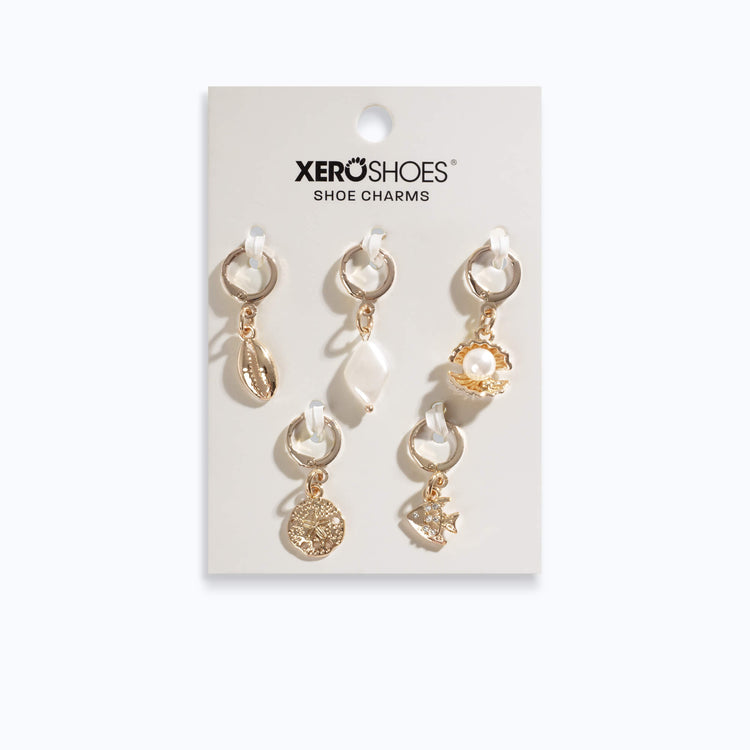
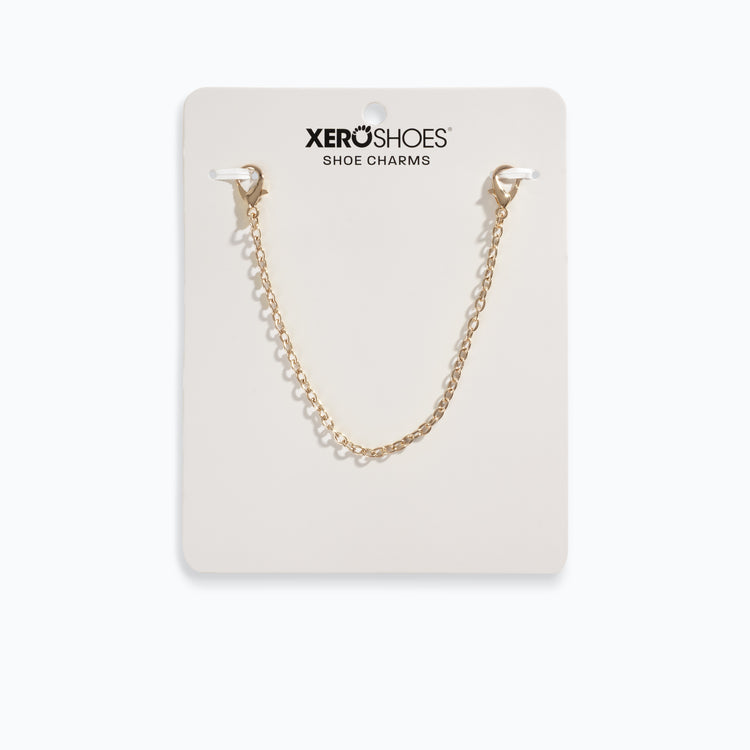
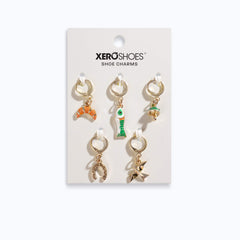
Charms that pair with Amuri Hardware Kit - Complete


5,000 Mile Sole Warranty
85,589 5-Star Reviews
Free Shipping $99+

Natural comfort, performance, and health.

Supports Balance
Zero-drop, non-elevated heel for proper posture and low-to-the-ground design can help support balance and agility.

Responsive Feeling
Our FeelTrue® sole protects your foot while giving your brain the feedback and stimulation required.

Wider Toe Box
A foot-shaped toe box let your toes spread and relax.
Barefoot Shoes
“Barefoot Shoes” give you that natural, free, fun feeling of being in bare feet — letting your toes spread, and your feet bend and move and flex — while letting you safely FEEL the world beneath you.
All those sensors in your soles give your brain the feedback it needs to help your body move better, efficiently, and enjoyably. Slip on a pair of Xero Shoes and Live Life Feet First!