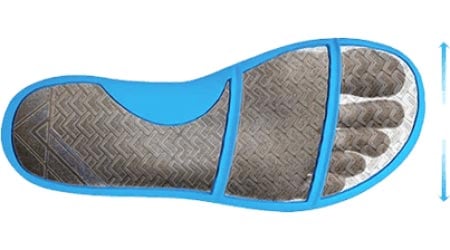
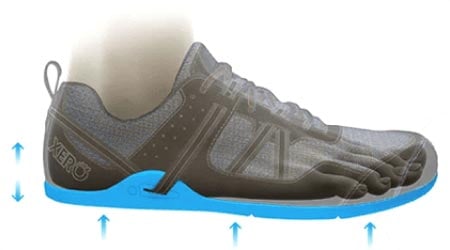
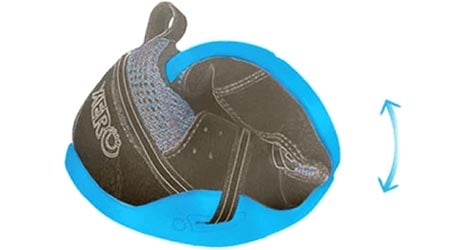
Turn your Xero Shoes Do-It-Yourself kit into a “hybrid Amuri Venture” with this hardware kit.
In fact, you can take any similar product to our DIY kits and Amuri-ize it with this hardware kit 😉
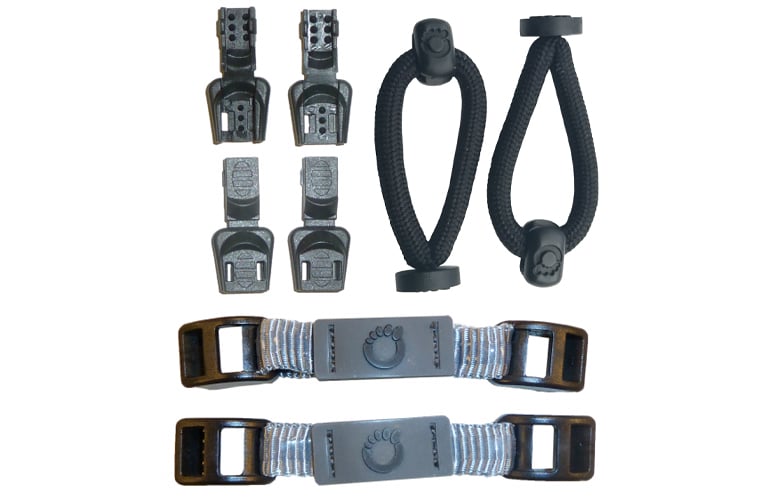
This is all the hardware we use for the Cloud and Venture sandals.
Grab an extra pair of laces for the “Amuri look.”
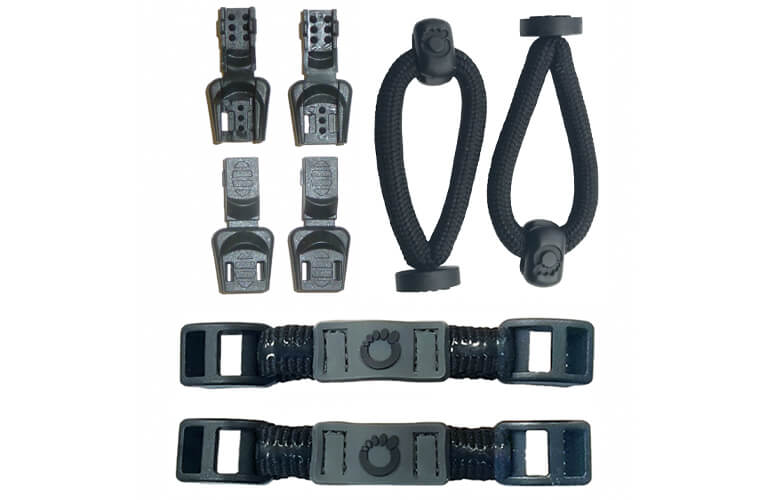
The Complete Amuri Hardware Kit comes with:
- Two soft, grippy, instantly adjustable Heel Straps. (also available individually, here)
- Two comfortable, flexible, extra strength Toe Loops (also available individually, here)
- Four Lace Ends (also available here)
SAVE by getting the Complete Kit, rather than the individual components.
While the photos, below, show the components in various colors, the hardware is all Black and the Heel Straps have a silver/gray webbing and black hardware.
Here’s how you take the FeelTrue® soles from our DIY Kit and “Amuri-ize it:”
Step 1 – Insert the Toe Loop
Well, the bottom of the Toe Post isn’t much bigger than the knot you make for your DIY kit, so you shouldn’t.
If you do feel it, feel free to experiment with trimming or sanding it down just a bit at a time to get the feeling you want.
2) Step 2 – Lace up your kit, Amuri style
(Clicking on the photos, below, will open them up, larger, in a new window. These photos use the Toe Post that has been replaced by the softer, stronger Toe Loop.)
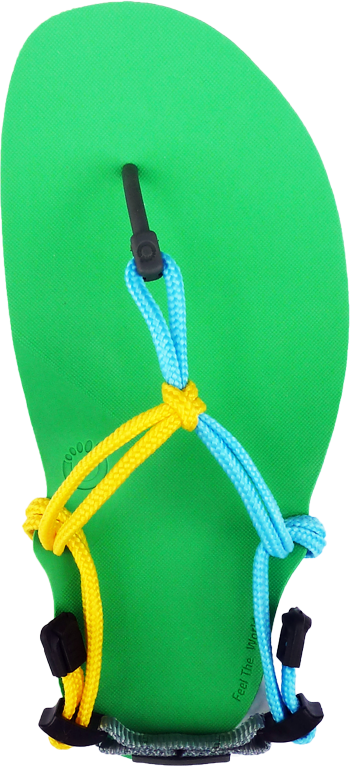
a) Here’s the basic lacing pattern. I’ve trimmed the laces in advance so you can see the ends. Don’t trim them yet.

b) Thread the laces through the Heel Strap hardware, as shown.
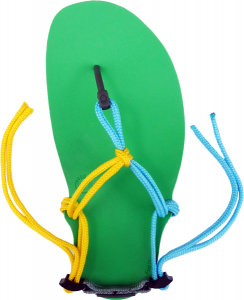
c) Trim the laces as necessary (don’t trim them too short until you’ve worn the shoes and know what the length is that you want), and add the Lace Ends (instructions for adding Lace Ends are below)
How to attach the Lace Ends
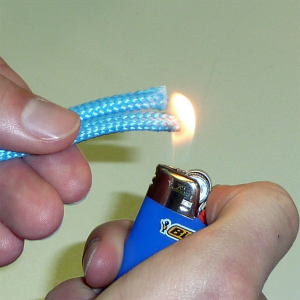
a) Lightly heat the ends of the lace to seal them
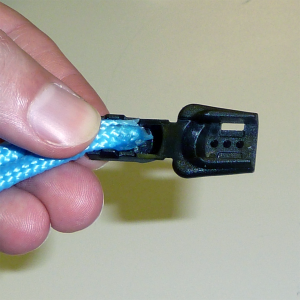
b) Place the ends in the small section of the Lace End
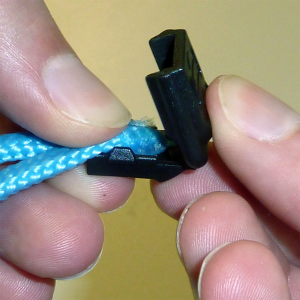
c) Fold over the Lace End
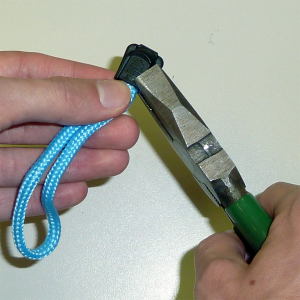
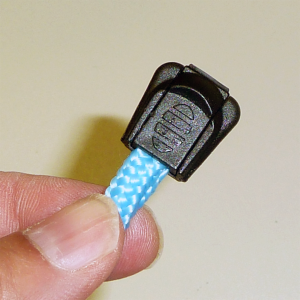
d) Press the lace end sections together until they “click” and lock. You may want to use a pliers to help with this step.
e) Here’s a completed Lace End.



 5,000 mile sole
  79,127
  1,361,479+